

You can add a clickable external link to LinkedIn's Featured section in under a minute on desktop or mobile. Featured sits directly below your About section and above Experience, making it the highest-visibility real estate on your profile for driving clicks to a portfolio, booking page, case study, or any external destination.
Use Featured when you want a link that visitors see without any extra clicks. Use Contact Info for secondary links, and consider LinkedIn's custom profile button (available on certain paid tiers) if you need even more prominent placement across search results and messages.
Desktop — add a Featured link in 5 steps:
- Click the Me icon and select View Profile
- Click Add profile section (below your profile photo)
- Select Recommended, then Add featured
- Click the + icon and choose Links
- Paste your URL, add a title and description, then click Save
Mobile — add a Featured link in 5 steps:
- Tap your profile photo to open your profile
- Tap the Edit (pencil) icon
- Scroll to Featured and tap Add featured
- Tap +, then Links
- Paste your URL, add a title and description, then tap Save
Featured renders as horizontal cards. On mobile, the first card dominates the screen, so whatever you put in slot one gets the most attention.
Key Takeaways
The most important thing to get right with LinkedIn's Featured section is card order: slot one drives the majority of clicks, and it should always hold your highest-conversion destination.
| Point | Details |
|---|---|
| Featured placement | Sits below About, above Experience — high visibility without extra clicks from visitors. |
| Curated item count | Limit to 3–5 items; more than five reduces engagement as visitors stop reading cards. |
| OG preview check | Always test the thumbnail before saving; upload custom media if OG tags are poor. |
| Measure with UTMs | LinkedIn shows no native click counts — tag every Featured URL with UTM parameters. |
| Lflow for multi-link | Use Lflow's link-in-bio page to consolidate destinations, get per-link analytics, and update links without editing your profile. |
Table of Contents
- What is the LinkedIn Featured section and why does it matter?
- How to add a clickable link to LinkedIn's Featured section
- What content types does LinkedIn support in Featured?
- How to edit, reorder, or remove Featured items
- How to optimize Featured links and measure their performance
- When should you use a link-in-bio page instead of multiple Featured links?
- Common problems with Featured links and how to fix them
- The first slot is the only slot most visitors will see
- Lflow makes Featured link management measurable
- Sources
What is the LinkedIn Featured section and why does it matter?
LinkedIn documents that the Featured section supports posts, articles, links, and uploaded media, and it appears directly below your About section. That placement is not accidental. Most profile visitors read your headline, skim your About text, and then look down. Featured intercepts them at exactly that moment, before they reach your work history.
The section renders as a horizontal card carousel. Each card shows a thumbnail image, a title, and a short description. On desktop, two or three cards are visible at once. On mobile, the first card fills most of the screen, which means card order is a conversion decision, not just a cosmetic one.
High-value items to put there: a portfolio or case study PDF, a booking or contact page, a published article or press mention, or a short demo video. The goal is proof plus a clear next step, not a general archive of everything you've ever published.

How to add a clickable link to LinkedIn's Featured section
LinkedIn's official help documentation describes the Add profile section → Recommended → Add featured flow for both desktop and mobile. The steps in the opening section above follow that exact path. Here are the micro-checks that most guides skip.
After you paste a URL, check the preview card before saving. LinkedIn pulls the Open Graph (OG) title and thumbnail from the destination page. If the OG tags are missing or low-quality, the card will show a blank or generic image. Fix it before you save, not after.
Add a custom title and description every time. LinkedIn lets you override the auto-pulled title. Use that. A title like "Book a 30-minute strategy call" outperforms a raw domain name every time.
Reorder immediately after adding. New items default to the last position. If you just added your most important link, drag it to slot one before closing the editor.
Pro Tip: If the link preview looks broken or shows a generic placeholder image, don't fight the OG tags. Upload a well-designed image or PDF as a media item instead, and link out from your link-in-bio page. You get full control over the thumbnail and the destination.
What content types does LinkedIn support in Featured?
LinkedIn supports four types of Featured items. Each renders differently, and the practical limits vary.
| Content type | How it renders | Key limits |
|---|---|---|
| External links | Card with OG thumbnail, title, description | Quality depends on destination's OG tags |
| Posts | Card showing post preview and engagement count | Pulls original post content; title not editable |
| Articles | Card with article cover image and headline | Same as posts — original content only |
| Uploaded media | Card with your chosen image/thumbnail | PDFs and images in reliable media types; video supported with size limits per platform guidance |
Practitioner guides note that PDFs, slides, and images are the most reliable media types for consistent card previews, while video previews can behave inconsistently depending on file format and encoding.
A few practical constraints worth knowing:
- Posts and articles pull their original content. You cannot edit the title or thumbnail for a featured post.
- External links give you the most control: custom title, custom description, and you can swap the URL later.
- Uploaded media gives you full thumbnail control but requires a separate hosted destination if you want the click to go somewhere specific.
Profile audit guidance consistently recommends keeping Featured to 3–5 curated items. More than five and visitors stop reading the cards. Fewer than three and the section looks sparse. Two to four is a practical sweet spot for most professionals.
How to edit, reorder, or remove Featured items
To enter edit mode, go to your profile and click the pencil icon in the top-right corner of the Featured section. From there, you can drag cards left or right on desktop to reorder them. On mobile, tap the three-dot menu on a card and use the move options.
A few things behave differently than you'd expect:
Editing titles and descriptions works only for uploaded media and external links. Featured posts and articles are locked to their original content. If a post's thumbnail aged poorly, your only option is to remove it and feature the content as an uploaded image instead.
Removing an item is permanent from the Featured section, but it does not delete the original post or article. The item simply disappears from your profile until you re-add it.
Update cadence matters. Stale Featured sections signal inactivity. Editors recommend refreshing Featured every 60–90 days, or whenever you ship a new project, publish a significant piece, or change your primary call to action. A quarterly calendar reminder is the simplest way to stay consistent.
How to optimize Featured links and measure their performance
Link text and titles are the highest-leverage copy on the card. Start with a verb. "Download the free guide," "See the case study," and "Book a 30-minute call" all outperform "My portfolio" or "Click here." Best-practice guidance recommends CTA-first verbs and avoiding vague labels — the same principle applies directly to Featured card titles.
Thumbnail checklist:
- OG image should be at least 1200 × 627 pixels for a clean card render
- Use a 1.91:1 aspect ratio to avoid cropping
- If you can't control the destination's OG tags, upload a custom image as media and link from a landing page
- Test the preview using LinkedIn's Post Inspector tool before featuring
Measurement: LinkedIn does not show click counts on Featured items natively. The practical fix is UTM tagging. Add a UTM source (linkedin), medium (featured), and campaign name to every external URL before featuring it. Then track conversions in Google Analytics or whatever analytics platform you use.
Contact Info links sit behind an extra click, while LinkedIn's custom profile button (available on certain paid tiers) appears more prominently across search results and messages. If you have access to the custom button, use it for your single most important destination and keep Featured for supporting proof points.
If clicks are low after two to three weeks, change one variable: swap the thumbnail, rewrite the title, or move the card to slot one. Treat it like a landing page test, not a set-and-forget profile element. For a systematic approach to link prioritization and conversion tracking, the same principles that govern internal SEO linking apply here.
When should you use a link-in-bio page instead of multiple Featured links?
Multiple Featured links work well when each destination is distinct and important enough to deserve its own card. But once you're managing more than three or four destinations, or you need consistent analytics across all of them, a single link-in-bio page becomes a cleaner solution.
A single canonical link simplifies analytics and QR generation, particularly when you need to rotate campaign destinations quickly without editing your LinkedIn profile every time.
Decision factors:
- More than four destinations to promote simultaneously
- Need for per-link click analytics without manual UTM setup
- Offline campaigns requiring QR codes that point to multiple destinations
- Desire for a branded, mobile-first landing experience
| Approach | Visibility | Analytics | Flexibility |
|---|---|---|---|
| Featured links only | High (on-profile) | Manual UTM only | Edit profile each change |
| Link-in-bio page in Featured | High (one card) | Real-time per-link | Update page, not profile |
| Custom profile button | Highest (off-profile) | Manual UTM only | One destination only |
Implementation checklist — publish a link-in-bio page and add it to Featured:
- Create a link-in-bio page with all your destinations (portfolio, booking, newsletter, etc.)
- Add UTM parameters to each destination link within the page
- Copy your link-in-bio URL
- Add it to Featured as an external link with a clear CTA title
- Optionally, add the same URL to Contact Info for redundancy
For creative ways to structure a link-in-bio page that converts LinkedIn visitors, the layout and ordering principles mirror what works in Featured: lead with the highest-value destination, keep labels short and verb-first.
Common problems with Featured links and how to fix them
Broken or blank preview card: The destination page is missing OG tags, or they're malformed. Check with LinkedIn's Post Inspector (search "LinkedIn Post Inspector" to find the tool). If you can't fix the OG tags on the destination, upload a custom image as a media item and feature that instead.
Can't see the "Add" button or edit options: This usually means one of three things: your profile visibility is set to private, you're viewing someone else's profile by mistake, or you're on a mobile UI that requires scrolling further to find the edit icon. On mobile, try accessing Featured through Me → View Profile → Edit rather than tapping directly on the section.
Thumbnail looks cropped or low-resolution: The source image is below 1200 × 627 pixels or uses a non-standard aspect ratio. You can't fix this from LinkedIn's side if it's an OG image. Upload a correctly sized image as media and feature that card instead.
When to contact LinkedIn Help: If the Featured section doesn't appear on your profile at all, or if saved changes don't persist after multiple attempts, that's a platform-level issue worth reporting. For everything else, the media-upload workaround solves most preview problems faster than waiting for support.
The first slot is the only slot most visitors will see
Most professionals treat Featured as a digital filing cabinet. They add things when they publish them and never reorder. That's a mistake. The first card is the only one a mobile visitor sees without scrolling, and it's the first thing a desktop visitor's eye lands on after reading your About section.
Order by conversion priority, not chronology. Your best proof point goes first. If you're actively selling a service, your booking link goes first. If you're job searching, your portfolio or resume PDF goes first. The rest of the cards are supporting evidence.
One tactic worth trying: pair a case study card in Featured with a link-in-bio page behind it that holds your booking link, newsletter signup, and portfolio in one place. Visitors who click the case study are already interested. Giving them a clean next step on that landing page, rather than sending them back to your profile to find another link, reduces friction at exactly the right moment.
Lflow makes Featured link management measurable
Managing multiple Featured destinations gets messy fast, especially when you're rotating campaigns or need to know which link actually drives conversions. Lflow gives you a single branded URL that consolidates all your destinations, with real-time per-link analytics, QR code generation for offline campaigns, and custom domains, all from a free starting point.
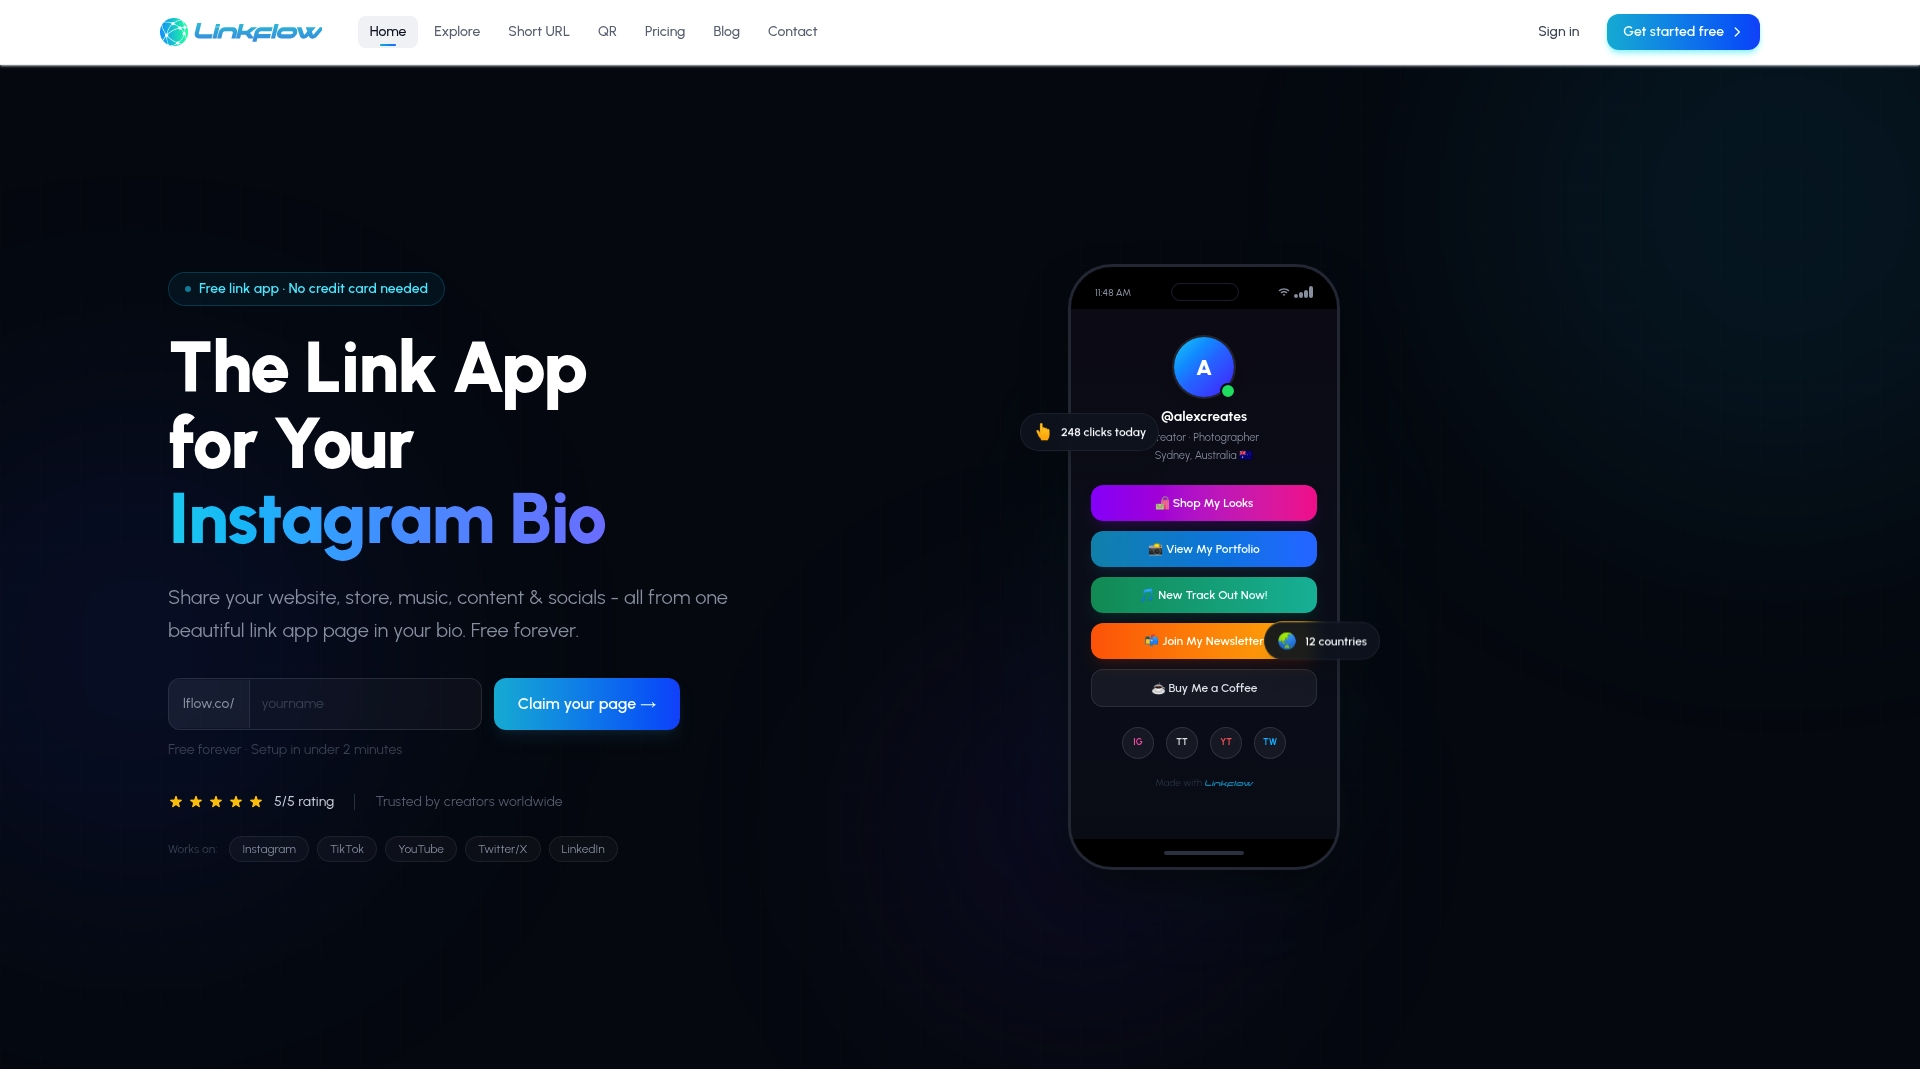
Getting started takes under two minutes: sign up at Lflow, pick one of the free link-in-bio templates, add your destinations with UTM parameters already built in, and paste that single URL into your Featured section. When you need to swap a destination or add a new campaign link, you update the Lflow page, not your LinkedIn profile. Your Featured card stays current without any profile edits. Start free at Lflow and have your page live before your next profile visitor arrives.
Sources
- Featured section on your profile FAQs
- LinkedIn Featured Section: Complete Setup Guide (2026) | Draftly Blog
- LinkedIn Featured Section: 8+ Examples That Actually Get Clicks | Resume Optimizer Pro